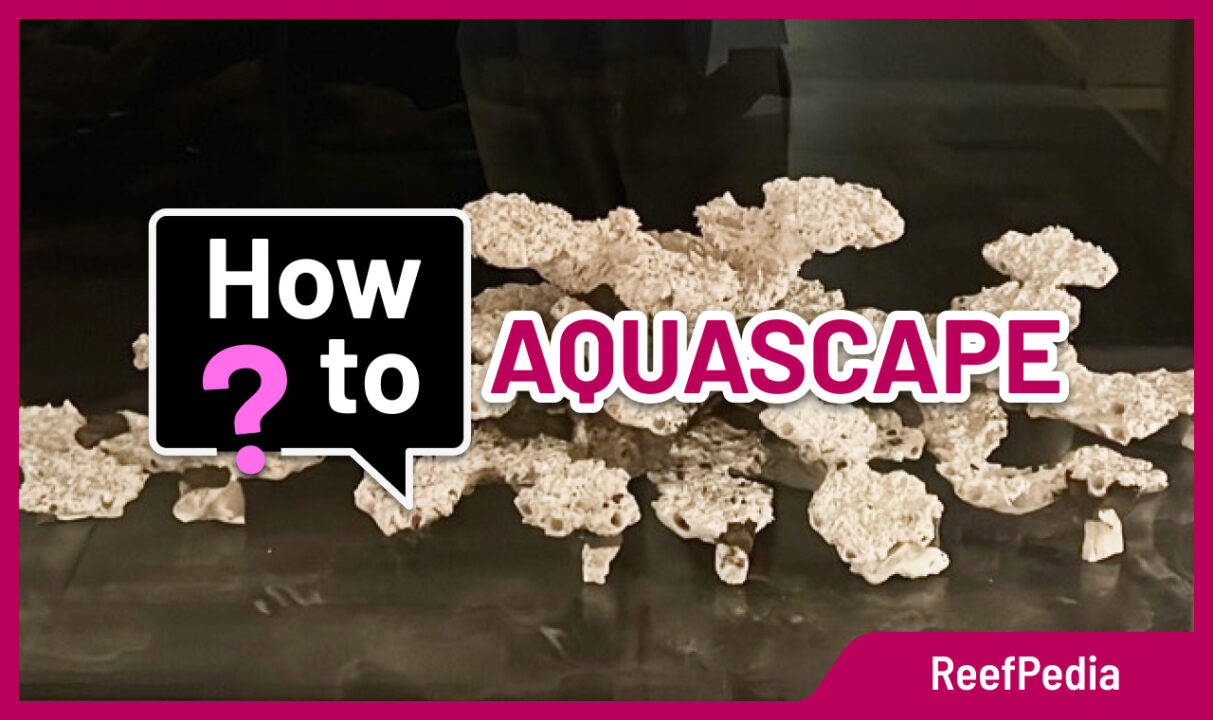
The topic of bonding rock in a marine aquarium is a very important. The rock in the aquarium affects the efficiency performance of biological processes as well as the way the aquarium looks; the rock also provides hiding places for animals. So, how to get down with the arrangement of the rock in the aquarium, so as to satisfy all the requirements?
Place preparation
To glue the rock, we need some space. We do not suggest gluing immediately in the main aquarium, but gluing the rock outside on a table. Also, be sure to line the gluing area in a circle with foil. Creating a rock composition is a dirty job and we will make a bit of a mess.
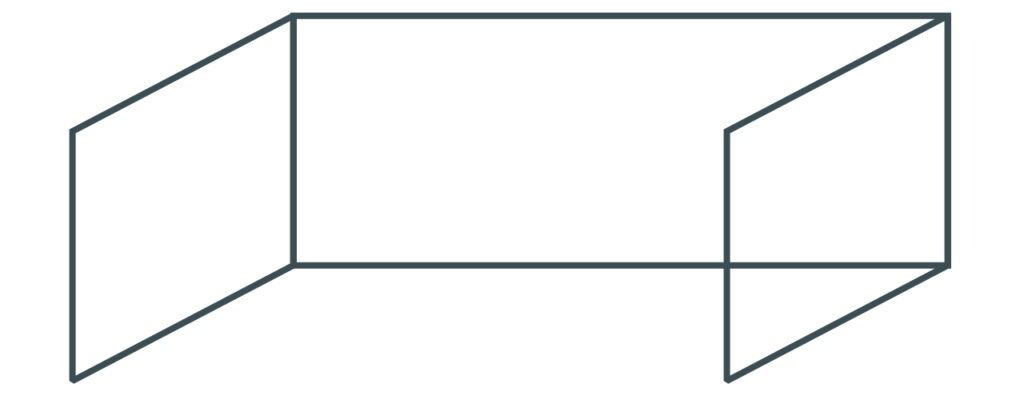
If we already have a tabletop, we put cardboard on it to protect it from damage. My suggestion is to make ourselves a frame out of PVC tubes according to the dimension of our aquarium, so that we have a spatial reference. This can also be done using cardboard boxes. We then form 3 walls in accordance with the dimensions of the aquarium, so that we have free access from the front.

Rock preparation
Before glueing the rock, it is necessary to select suitable pieces. If we are going to use dry rock for glueing then it is worth washing the pieces in advance. If we use live rock then we will not wash it in RO water, because we would kill the life on it. We can clean it of visible debris if there are any on it.
Preparing the tools
We will need the following tools to glue the rock:
- Hammer and chisel
- A spatula
- Gloves
- Glue mixing bowl (preferably rubber, flexible)
- Glue for glueing the rock – cement glue will be best
- A bucket of water
A vision
Before placing and glueing the rock, think about, and maybe even outline on a piece of paper, what you would like your rock to look like. This is especially important when you are doing it for the first time. This exercise will save you a lot of time. If you tweak the finished glued pieces, it will take you a long time.
Gluing the rock
We start glueing by laying the bottom layer. We lay the rock leaving spaces at the back and at the front for water circulation. If we have an internal overflow we also take it into account. The rock must not touch, either to the walls of the aquarium or the overflow.

After gluing the first layer, we continue to glue the next layers. When gluing subsequent layers, we may have to support them with other pieces of rock for the time it takes for the glued piece of rock to dry.
Sometimes we will have to crumble a piece of rock into a smaller one to fit our vision. When glueing the rock, remember to save room at the top for the corals.
Working at this stage, it is a good idea to glue the rock in modules, and only after transferring it to the aquarium glue the modules together. This stage requires a lot of time and patience. The more time we spend glueing the pieces together, the better the end result will be. We can create arches between modules, various hiding places for animals, as well as shelves and places to glue corals on.
Drying
After gluing the rock, we leave it to dry according to the instructions on the packaging. Moving the rock too quickly can cause damage to the joint, and our effort and working time will be in vain.
Rinsing the rock
After the rock has already dried, you can wash or even soak it. This will ensure that the dirt after bonding does not get into the aquarium. After rinsing the rock, we can soak it for a suitable period of time from a few days to even a month. It all depends on how we planned it and how much time we have. The longer we soak the dry rock, the better for maturation later on. The rock will give up dirt to the water. Ideally, it should be soaked in salt water where we can put a skimmer and apply bacteria. If we have a few days, there is no point in soaking the rock in salt water because the bacteria will not have time to do the job, if we have more time it is worth soaking the rock in salt water with bacteria. The rock on the one hand will give the dirt to the water, on the other hand the bacteria will do some of their work.
Transferring the rock to the aquarium
After soaking / washing the rock we transfer it to the actual tank . After transferring the modules to the aquarium, we can glue them together. After glueing the rock, it must dry, then we rinse it from dirt, and extract the dirty water. Remember that if we soak the rock in saltwater, we use salt water for rinsing.
Summary
In this article I have described a practical way to properly glue the rock. I have added some more information that will allow you to perform this stage of aquarium work efficiently.
About the author

Marek Protasewicz
Reefkeeping has been my passion for over 10 years now. I love learning. The hobby has taught me many valuable lessons, patience being the best example.
Combining work and passion is my path. I run Crazy Coral, a marine aquarium shop, for a number of years. Building this business from the scratch I learnt from my own mistakes at a heavy cost.
Later I managed a project aimed at development of methods for quick growth of Corals in non-natural conditions. The project was carried out by Get Sales, Poland.
Presently, I am responsible for distribution strategy at Reef Factory, of which I am a
co-founder. The company produces smart devices for marine aquaristics.
The last projects I have been involved in are Social Reef and ReefPedia.


