Table of Contents
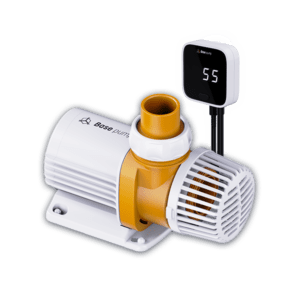
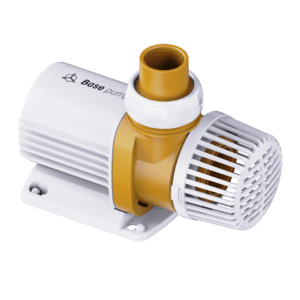
Maintaining the Base pump in excellent condition is crucial for its efficiency and longevity. To properly take care of the pump, you must first learn how to correctly disassemble and reassemble it. In this article, we will provide a detailed step-by-step guide on how to dismantle the device for thorough cleaning.
First Steps
The most important initial step is to disconnect the device from the power supply. This is crucial to ensure safety during the process.
Disassembling the Pump
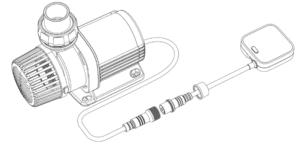
- Disconnect the pump from the controller.

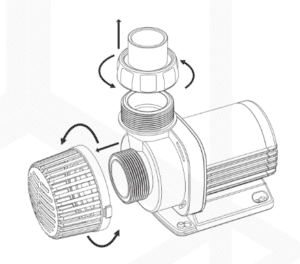
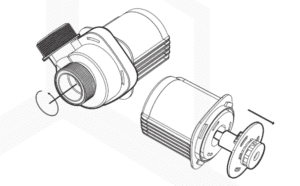
- Unscrew the hose connection and remove the pump from the sump, then unscrew the cover.

- Slide out the pump base.

- Turn the orange part of the housing counterclockwise and remove it, then take out the impeller.

Cleaning the Components
Now that your device is disassembled, you can proceed to thoroughly clean each component. Place the individual parts of the Base pump under running water and clean them using a soft cloth or a soft brush. You can use mild cleaning agents, but make sure all components are thoroughly rinsed before reassembling them.
IMPORTANT: Avoid using harsh cleaning agents as they can damage the pump and potentially harm the aquarium animals.
Reassembling the Pump
After thoroughly cleaning all components, proceed to reassemble the Base pump by repeating all steps in reverse order. Pay special attention to the correct installation of the impeller. It must fit snugly into the part where it connects to the rest of the device.
Monitoring and Maintenance
After cleaning, we recommend monitoring the device’s performance to ensure it is functioning correctly. Check for any unusual noises and ensure the water level is appropriate. Regularly schedule cleaning and maintenance sessions to prevent excessive buildup of debris and ensure the longevity of the Base pump.
